Read on and you’ll discover:
- The importance of mastering the upright row
- Common upright row mistakes
- The difference between upright rows and high pulls
- How triple extension can take your upright rows to new heights.
There’s a lot of criticism around upright rows, so it’s little surprise many believe they should be scratched from your workout regime. After all, there are other ways to strengthen your traps and deltoids, right? Think again. Rather than ditch the upright rows, this is one move you should actually spend time learning to master.
This is because the upright row movement is a key element of the clean and press – so you can’t get all the functional strength benefits from a safe and effective clean and press without mastering the upright row.
The problem with upright rows
The main issue with upright rows is the risk of shoulder impingement. Generally, shoulder impingement occurs when you internally rotate the shoulder (roll the upper arm forward slightly) and then lift it out to the side. When you do this movement, a crest of bone at the top of the humerus (the upper arm bone) hits a bone projecting outward from the scapula (also known as the shoulder blade). When these two bony prominences come together, impingement occurs, and this can create shoulder pain.
Shoulder impingement is a direct result of the technique used. So let’s have a look at what’s important for perfect upright row technique.
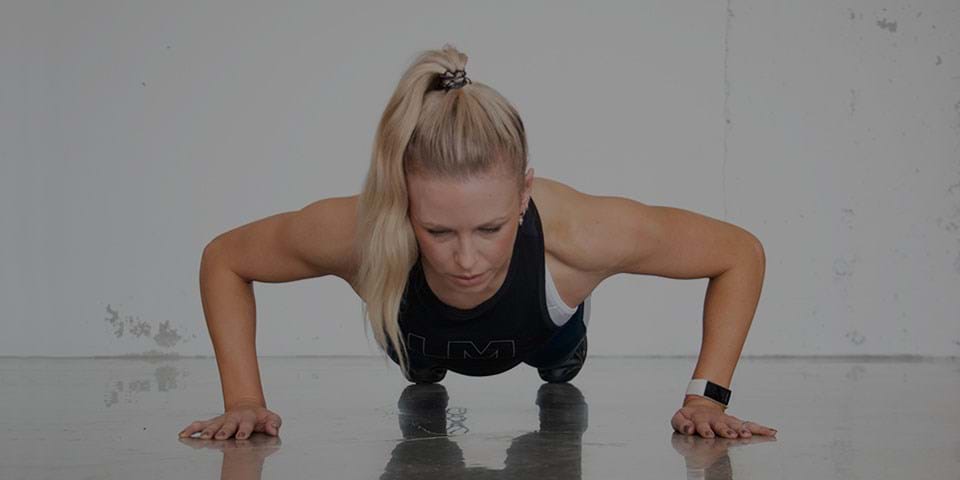
Upright row technique mistakes
#1 The first issue is having your hands too close together. If your hands are too narrowly placed your shoulders will be internally rotated as you raise the bar up. Not only will it look ridiculous, but it will also increase the chance of impingement – the internal rotation as you lift will bring those two bony prominences together.
#2 The second issue is having a scapula that’s protracted (shoulders rounded forward) and downwardly rotated. This will bring the top of the scapula down, so that as you raise the bar and the humerus lifts, once again, there’s a high likelihood that those two bony prominences will impact.
#3 The third issue is the height of the pull. If you pull the bar right up under your chin it’s no good. Lifting your elbows above your shoulders is another road to increase the likelihood of shoulder impingement.
The right way to upright row
- Have your hands wide – at about hip-width. If your hands are wide there’s less chance of internal rotation.
- Draw the shoulder blades back and stabilize them as you lift the bar. This will help you keep the top end of the shoulder blade out of the way.
- Limit how high you lift the bar. Only ever lift the bar to the lower ribs, with your elbows in line with shoulder level.
- Do all these things together and it will eliminate a lot of the impingement risk and help ensure your upright rows are safe and effective – so you can easily transition into a clean and press.
Upright row versus high pull
A high pull is simply an upright row performed at speed. The high pull uses the same action as described above, however, you focus on driving out of the knees and hips and raise up on the toes to help generate more speed on the bar. When we coordinate the lift out of the upper body with the force generated from the legs, the bar will feel almost weightless as it reaches the top of the movement.
This high pull is the exact movement you need for a well-executed clean and press. When the bar reaches the lower ribs in the high pull – at the point it feels weightless – you simply bend the knees and drop under as you clean the bar to the collar bones.
The combination of the high pull with a heel lift and squat is called triple extension, where there is extension at three joints; the hip, knee and ankle.
At the bottom of a squat, all three joints are flexed. As you initiate the rise, the hips extend, followed by the knees, and finally the ankles. This final extension at the ankles provides additional power, increasing overall activation and enhancing our vertical drive to power the bar upward.
Dr. Jinger Gottschall advises that you can increase the benefit of triple extension by executing the heel lift in the high pull and squat combination without a pause – ensuring the hip, knee, and ankle extension is in a fluid sequence. As you do this, it’s essential to consciously contract the glutes and brace the core as you rise up from a squat, then add the heel lift component to fire the calf muscles.
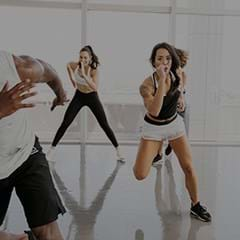
Workouts like BODYPUMP™ and LES MILLS GRIT™ Strength provide great opportunities to practice your upright rows and also triple extension.
FIND A WORKOUT WORK OUT ON DEMAND

Bryce Hastings is a leading New Zealand physiotherapist and fitness expert. As Les Mills Head of Research he leads research into the most effective approaches to exercise and plays a pivotal role in structuring all LES MILLS™ workouts. Bryce’s passion for effective exercise is born from spending 30 years in physiotherapy, where he saw “people getting their lives wrong” every day and felt like he was acting as an ambulance at the bottom of the cliff. By working in fitness he gets to be the fence at the top.
.